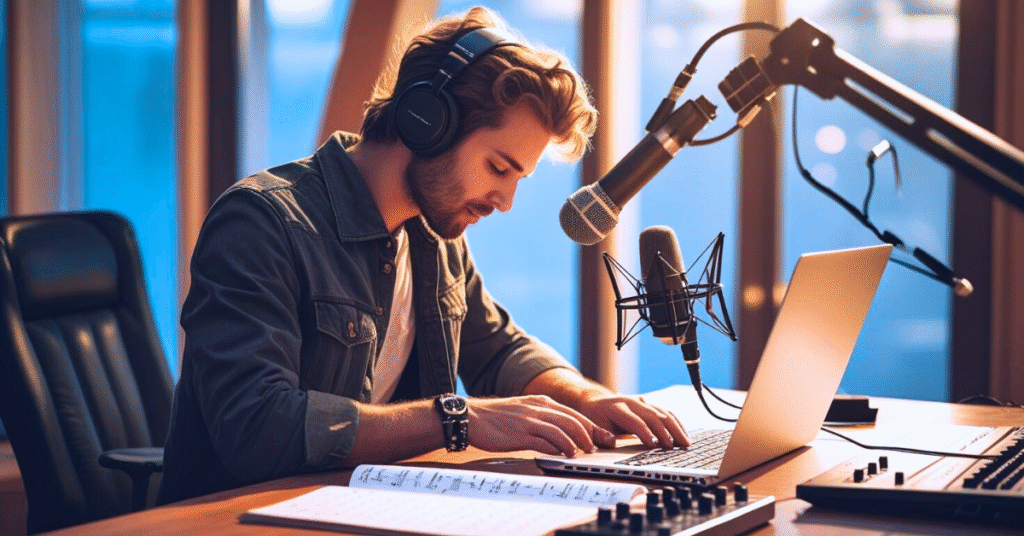
Music studio setup
Affiliate Disclosure
This post contains affiliate links. We may receive a small commission if you purchase via our links.
Set up your home studio with essential gear: audio interface, condencer microphone, headphones, desk, and acoustic treatment—see our best recommendations.
Get a pro-level setup at home—no fancy budget required, just smart choices.
Essential Components for Your First Home Recording Studio Setup
Starting a home recording studio means knowing the key parts. Your computer will be the heart of your studio. It will handle audio and run music software.
Building a recording studio needs the right tools and hardware. Here are the main things you’ll need for a working setup.
Computer Requirements and Specifications
Getting the right computer is key for audio work. It should have certain features to work well with music software:
- At least 16GB RAM for smooth work
- A quad-core processor (Intel i5 or AMD Ryzen 5)
- SSD storage with 512GB or more
- A dedicated graphics card for better music making
Digital Audio Workstation Selection
Picking the right digital audio workstations is important. Options like Ableton Live, Logic Pro, and FL Studio suit different music styles.
- Beginner-friendly: FL Studio, Bitwig, Reaper, GarageBand
- Professional-grade: Pro Tools, Ableton Live
- Budget-conscious: Cakewalk, LMMS
Basic Audio Interface Options
Audio interfaces are key for turning sound into digital recordings. Think about what you need and your budget when choosing.
For beginners, Focusrite Scarlett 2i2 or PreSonus AudioBox USB 96 are great. They have good preamps and many input options for recording.
Understanding Studio Monitor Selection
Studio monitors are key to your music setup. They make sure your sound is clear and right. This helps you make music that sounds professional.
When picking studio monitors, you’ll find two main types. These types affect how your sound sounds and how well it’s proofed:
Near-field vs. Far-field Monitor Differences
- Near-field monitors: Made for listening up close, about 3-4 feet away
- Far-field monitors: For bigger studios where sound spreads out more
Strategic Monitor Placement
Where you put your monitors matters a lot. Place them so you and they form an equal triangle. This helps keep sound clear by avoiding echoes.
Budget-Friendly Monitor Options
- PreSonus – model Eris E5 price range something $150-$200 for Home Studios.
- Yamaha – model HS5 price range something $200-$250 for Small Professional Studios.
- KRK – model Rokit 5 G4 price range something $180-$230 Compact Recording Spaces.
Good studio monitors change how you make music. Don’t forget, how you place them and sound proofing are just as important.
Microphone Types and Applications
Choosing the right microphones is crucial for great audio in your home recording setup. Knowing about different types helps you pick the best for your sound needs.
There are three main types of microphones for professional recording:
- Dynamic Microphones: Great for loud sounds and live shows
- Condenser Microphones: Best for detailed studio recordings
- Ribbon Microphones: Known for their warm, vintage sound
Think about what you’ll be recording when picking microphones for your studio.
Types of microphones
- Dynamic microphones – for vocals, Drums, Guitar Amps that offers features such as strong, low sensitivity.
- Condenser microphones – for Acoustic Instruments, Vocals, Overhead Recording which provides features like Detailed, Sensitive.
- Ribbon microphones – for Ambient Recording, Strings, Brass that delivers warm, vintage-like features.
Your microphone choice greatly affects your recording quality. Start with versatile ones that fit your main recording needs. Then, add more as you get better.
Audio Interface Essentials
Choosing the right audio interface is key for top-notch recordings at home. These devices connect your gear to your computer. They turn analog signals into digital data for your DAW to work with.

- Connection compatibility with your computer system
- Number of input and output channels
- Preamp quality for clean sound capture
- Future expandability of your recording setup
Connection Types and Compatibility
Today’s audio interfaces come in three main types:
- USB: Most common and widely compatible
- Thunderbolt: High-speed data transfer for pro setups
- FireWire: Old connection for older gear
Preamp Quality Considerations
The preamp is super important in an audio interface. Good preamps reduce noise and boost signal strength. They help capture the fine details of sounds with clearness.
“A great preamp can make your recordings sound pro.” – Professional Sound Engineer
Input/Output Requirements
Think about how many inputs and outputs you need. This depends on your recording style, solo or with a band.
Get an audio interface that can grow with you. This way, you can add more to your setup as you learn and expand your studio.
Studio Furniture and Ergonomics
Setting up your music studio is more than buying gear. Your furniture is key to staying comfy and productive. Good studio furniture helps you work better and keeps you healthy.
Think about these important things when setting up your space:
- Adjustable studio chair with proper lumbar support
- Sturdy desk with enough room for your gear
- Monitor stands for the best speaker sound
- Cable management solutions
Finding the right chair is very important. Look for chairs that:
- Can be adjusted in height
- Have wheels for easy moving
- Are made of breathable materials
- Have comfy padding
Your studio should be comfy and work well. Ergonomic furniture helps avoid pain during long work sessions. Arrange your furniture to avoid stretching and to keep your neck straight. This helps you stay creative.
A well-designed studio workspace is an investment in your musical productivity and personal health.
Studio furniture is not just for looks. It’s about making a space that supports your music and keeps you comfy during long sessions.
Acoustic Treatment Fundamentals
Creating a professional sound environment starts with understanding acoustic treatment. Your home studio’s sound quality depends on managing sound waves and reducing unwanted reflections.

Acoustic treatment turns an ordinary room into a precise listening space. It helps whether you’re new or experienced. It makes your audio recordings and mixing better.
Room Analysis Techniques
Looking at your studio space is key. You need to find the main acoustic challenges:
- Sound reflection points
- Problematic frequency ranges
- Room dimensions and shape
- Surface material composition
Treatment Method Strategies
Effective acoustic treatment uses many methods:
- Absorption Panels Purpose Reduce sound reflections Recommended Location First reflection point.
- Bass Traps Purpose Control low-frequency buildup Recommended Location Corner of the room.
- Diffusion Panels Purpose To Scatter sound waves Recommended Location Back wall.
DIY vs. Professional Solutions
Money often decides your acoustic treatment choice. DIY solutions can be cheap, but pros offer better results. Think about your needs, room, and what you can do.
- DIY options include:
- Homemade acoustic panels
- Strategic furniture placement
- Affordable sound-absorbing materials
- Professional solutions provide:
- Customized acoustic design
- Advanced measurement techniques
- Guaranteed performance
Your goal is a balanced, controlled sound environment. It should improve your music production.
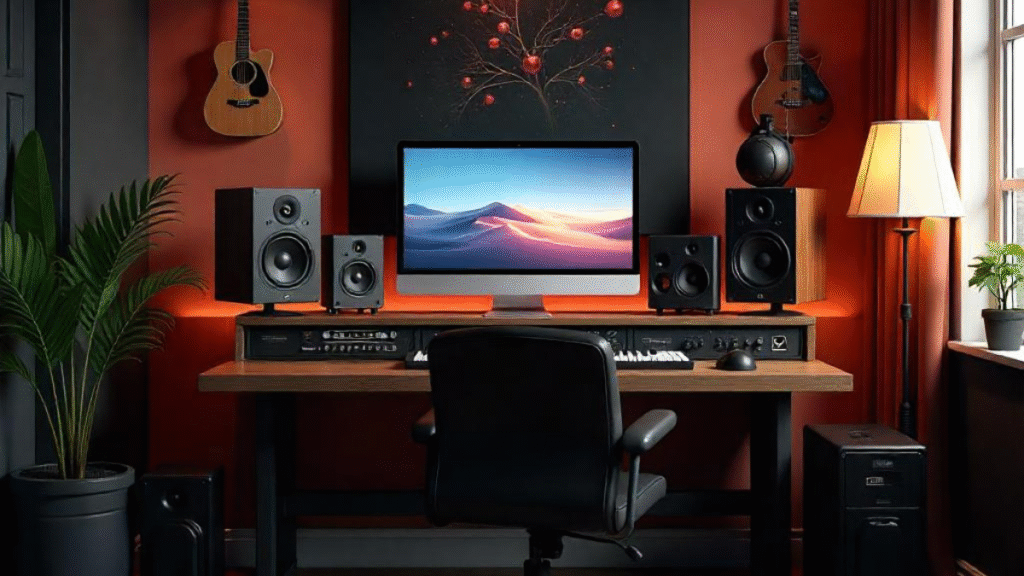
Music Studio Setup: Layout and Organization
Setting up a music studio needs careful planning. Your space should be inspiring and functional. It’s important to make an area that helps your music-making.
When setting up your studio, keep these tips in mind:
- Create dedicated zones for different music production tasks
- Optimize equipment placement for ergonomic comfort
- Minimize cable clutter and potential signal interference
- Ensure proper ventilation and equipment cooling
Your studio should be easy to use and efficient. Place your main workstation near power outlets. Make sure there’s enough room between things. Vertical storage solutions can help use space well, keeping your studio tidy.
“A well-organized studio is the foundation of creative productivity.” – Professional Music Producer.
Think about getting studio furniture that does more than one thing. Adjustable desk risers, compact keyboard stands, and modular shelving can make small spaces great for recording. Your studio layout should fit your needs and how you work.
Essential Studio Cables and Connections
Creating top-notch recordings is more than just having the right gear. The cables and connections you use are key. They turn your studio into a pro space.

Your audio gear needs the right cables to sound clear. Knowing about different cables can make your studio better.
Cable Types and Quality Considerations
Not all cables are the same. Each type is for a special job in your studio:
- XLR Cables: For pro microphones
- TRS (Balanced) Cables: For speakers and monitors
- TS (Unbalanced) Cables: For instruments
- MIDI Cables: For digital instruments
Signal Flow Basics
Good cable management is key for clear signals. Keep these points in mind:
XLR cable is best used for Microphones, and its signal quality provides the highest noise rejection.
TRS cable is best used for Monitors/Keyboards, and its signal quality provides a balanced signal.
The TS cable is best used for Instruments, because its signal quality provides unbalanced signal.
Choose high-quality cables to avoid signal problems. Short, shielded cables with gold connectors work best.
Headphone Selection and Monitoring
Studio headphones are essential for your recording setup. They show your music as it really sounds, unlike regular headphones. This is because they give a flat, accurate sound representation.
When picking studio headphones, you have two main types:
- Closed-back headphones: Great for recording, they keep sound inside
- Open-back headphones: Best for mixing, they let sound spread out
Choosing the right studio monitors and headphones is very important. They help you catch small audio details that regular headphones miss.
When picking headphones, look at these features:
- How wide their sound range is
- How much power they need
- How comfy they are for long use
- How well they’re made
Even if you’re on a tight budget, you can find great studio headphones. Look for brands like Audio-Technica, Sennheiser, and AKG. They offer top sound quality without costing too much.
Pro tip: Invest in a quality headphone amplifier. It will make your monitoring better and sound clearer.
MIDI Controllers and Integration
Digital audio workstations have changed music making a lot. MIDI controllers are key to using them fully. They help turn your ideas into digital music.
MIDI controllers vary in size and shape. Each one is made to make music making easier. Knowing about them can really help your creativity.
Controller Types to Explore
- Keyboard Controllers: Great for pianists and keyboard players
- Pad Controllers: Best for making beats and playing percussion
- All-in-One Production Controllers: Full solutions for your studio
Choosing the Right MIDI Controller
When picking a MIDI controller, think about these things:
- How many keys or pads it has
- How sensitive and responsive it is
- What extra controls it has (like faders and knobs)
- If it works with your DAW
Seamless DAW Integration
Today’s MIDI controllers work well with most digital audio workstations. Look for ones that support your DAW well. This means they work right away with little setup.
Pro tip: Always check the compatibility list before buying a MIDI controller. This ensures it works with your DAW.
Budget-Friendly Equipment Options
You don’t have to spend a lot to make a professional recording setup. Today’s tech makes it easy to set up a home music studio. You can get great quality without spending a lot.
Here are some tips for finding affordable recording gear:
- Pick what you really need, not just fancy stuff
- Look for beginner-friendly professional brands
- Check out used or refurbished gear
- Use student and teacher discounts
Here are some affordable options for your studio:
- Audio Interfaces: Focusrite Scarlett has great entry-level options under $200
- Microphones: The Audio-Technica AT2020 is a top pick for its price
- Studio Monitors: PreSonus Eris E3.5 is a great choice for its quality and price
DAWs are also a smart choice for saving money. Reaper, Audacity, and GarageBand are free or cheap. They let you make professional-sounding recordings without spending a lot.
By smart shopping and choosing wisely, you can get a great recording setup. You don’t have to break the bank to do it.
Studio Maintenance and Care
Keeping your music studio safe is very important. Your recording gear is a big investment. Taking good care of it helps it last longer and work better.
Dust and dirt can hurt your studio’s sound quality. It’s key to clean your gear often. Use special tools for cleaning electronics and follow these tips:
- Clean microphones with soft, lint-free cloths
- Use compressed air to remove dust from electronic interfaces
- Protect sensitive equipment with dust covers when not in use
- Store cables neatly to prevent tangling and damage
Don’t forget about digital care for your studio. Keep your software up to date and check your system often. Create a monthly maintenance schedule to keep your gear in great shape. Temperature and humidity matter a lot for your studio. Keep the humidity between 40-50%. Don’t let the temperature get too high or low, as it can harm your gear.
Professional studios treat equipment maintenance as a critical part of their workflow – and so should you.
Buy good protective cases for moving and storing your gear. Hard-shell cases with padding are the best for keeping things safe from bumps and damage.
- Inspect cables for wear and tear regularly
- Keep connections clean and free from oxidation
- Use contact cleaner for audio jacks and connectors
By following these care tips, you’ll keep your studio and gear in top shape. This way, your studio will sound great for many years.
FAQs: People Also Ask
Q1: Can I set up a home studio in a small space?
Ans: Yes, you can! Many producers start in small places. Use a smart layout, compact gear, and acoustic treatment. Foldable desks and wall mounts can save space.
Q2: What cables do I need for my home studio?
Ans: You’ll need XLR cables for mics, TRS/TS for instruments, and HDMI/USB for digital. Choose quality cables from brands like Mogami or D’Addario for clear signals.
Q3: Do I really need studio monitors?
Ans: Yes, studio monitors are key for accurate sound. They give you a clear sound to mix with. Near-field monitors are perfect for small spaces.
Q4: Which Digital Audio Workstation (DAW) is best for beginners?
Ans: Beginners should try Ableton Live, FL Studio, or GarageBand. They’re easy to use and have great features. Try them out before buying to see what works best for you.
Conclusion
Setting up a home music studio is a fun journey. It mixes tech skills with creative love. You don’t need to spend a lot or get fancy gear. What’s key is your hard work and eagerness to learn.
Begin with basic tools that fit your skills and budget. As you get better, you’ll add more to your studio. Even pros start small, showing that talent beats fancy gear. Learn to use your tools well and find your own sound.
A great music studio is about how you work and feel. Choose gear that makes you excited and helps your music dreams. Keep practicing, trying new things, and don’t worry about mistakes. Your studio will grow with you, showing your musical growth.
This guide has given you the tools to turn any space into a creative haven. Your studio is more than just equipment. It’s a place where your music dreams come to life.
What gear do you already have in your setup? Let us know in the comments!
Need help with layout, gear, or upgrades? Ask below—we’ve got your back!
Hi, I’m Nikhil Farenjiya, a music producer and professional singer with 10 years of experience. I share my knowledge and passion for music through writing to help aspiring artists grow. My blog is dedicated to inspiring and guiding music lovers on their creative journey.