How to Record a Song on Your Computer: Home Studio Guide
Want to record your song without going to an expensive studio? You don’t need much—just your computer, the right tools, and a little guidance. In this step-by-step guide, we’ll walk you through everything you need to start recording music from home, even if you’re a complete beginner.
How to Record a Song on Your Computer – Step-by-Step Beginner’s Guide
How to Record a Song on Your Computer at Home: Your first song from the comfort of your room? You’re not alone—and it’s more possible than ever thanks to modern music tech. With just a laptop, a microphone, and the right software, you can start creating studio-quality music at home.
This guide walks you through the entire process—from setup to sharing.
1. Choose the Right DAW (Digital Audio Workstation)
Your DAW is the software where all the magic happens—recording, editing, mixing, and arranging.
Popular beginner-friendly DAWs:
-
FL Studio – Great for beat-making and vocal recording
-
Ableton Live – Ideal for electronic music and live setups
-
GarageBand – A simple yet powerful choice for Mac users
-
Audacity – Free and easy for basic vocal/instrument recording
Tip: Pick one and stick with it. Learn its shortcuts, tools, and interface—it’ll save hours later.
2. Get a Quality Microphone & Audio Interface
To record clean vocals or instruments, you need more than just a laptop mic. Invest in a condenser microphone and a reliable audio interface to capture professional-grade audio.
Beginner-Friendly Gear Suggestions:
-
Microphone: Audio-Technica AT2020
-
Interface: Focusrite Scarlett Solo (USB-powered)
-
Extras: XLR cable, sturdy mic stand, and a pop filter
A pop filter helps reduce plosive sounds (“P” and “B”) while recording vocals, making your recordings sound smoother.
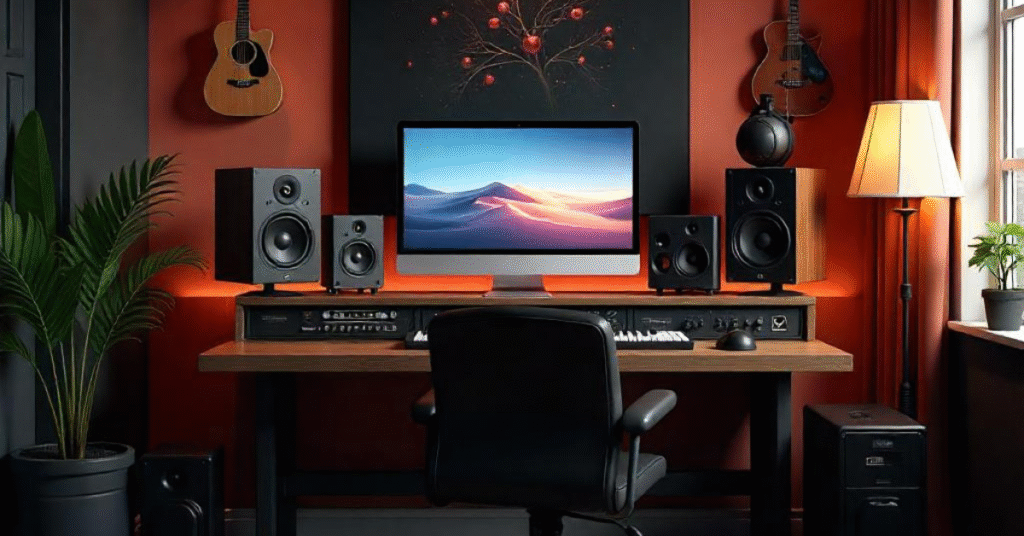
3. Set Up Your Home Recording Space
You don’t need a fancy studio, but your environment does matter. A few small tweaks can significantly improve your sound quality.
Home Studio Tips:
If you want to know how to music studio setup ?, you can click here.
-
Choose a quiet space with minimal background noise.
-
Use acoustic foam, curtains, rugs, or even pillows to reduce reflections.
-
Place your mic away from the walls to minimize echo.
-
Turn off fans, AC, or noisy electronics while recording.
The more comfortable and quiet your space is, the better your work will be.
4. Connect & Configure Your Recording Setup
Once you’ve got your gear, it’s time to hook it all up and get ready to record.
Setup Instructions:
-
Plug your audio interface into your computer via USB
-
Connect your microphone to the interface using an XLR cable
-
Install drivers (if needed) from the manufacturer’s website
-
Open your DAW and set the correct input/output device
-
Arm your track for recording and check input levels
Don’t forget to wear headphones while recording to avoid mic bleed.
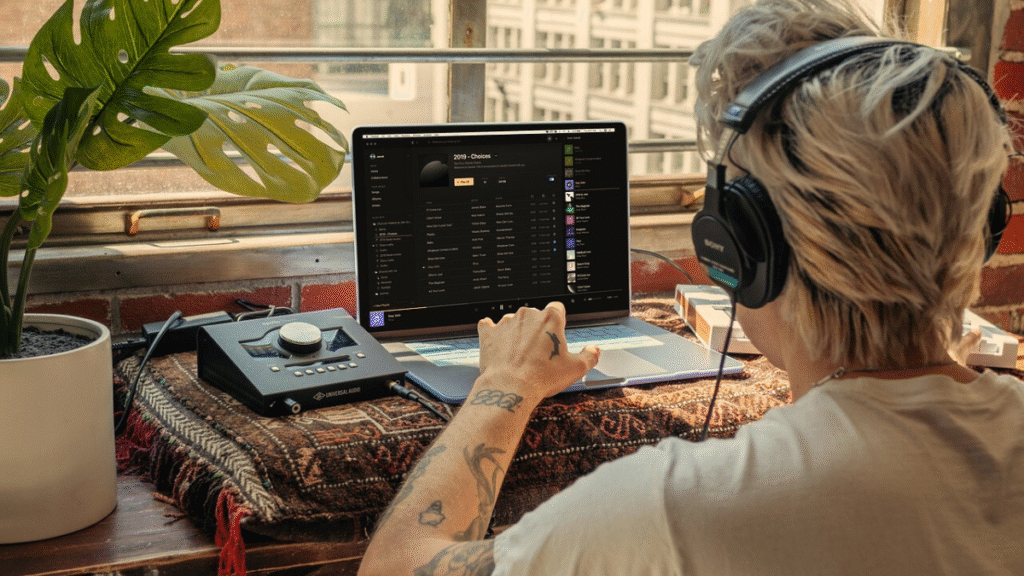
5. Record Your Vocals or Instrument
Now for the fun part—recording! But don’t just hit record and hope for the best. Prepare yourself first.
Recording Tips:
-
Warm up your voice or instrument
-
Keep a consistent distance from the mic (6–8 inches)
-
Use a pop filter and a mic stand for stability
-
Record multiple takes—you can always choose the best one later
Record in a quiet environment and aim for natural, clean takes with no distortion.
6. Add Background Tracks, Beats, or Instrumentals
Now that you’ve got your vocal track, build your instrumental around it—or import a beat you already have.
Ways to Add Music:
-
Import pre-made beats or instrumentals
-
Use MIDI instruments in your DAW to create melodies
-
Add layers like basslines, synths, pads, or effects
-
Make sure everything stays in tempo with the project’s BPM
If you’re not a producer, you can get beats from sites like BeatStars, Splice, or YouTube (make sure you have permission).
7. Mix Your Track (Basic Mixing Essentials)
Mixing is where your song starts to sound polished and cohesive. Even basic mixing makes a huge difference.
Basic Mixing Techniques:
-
Adjust volume levels for each track
-
Use EQ to cut muddy frequencies and boost clarity
-
Add compression for dynamic balance
-
Use reverb and delay to add space and depth (sparingly)
-
Pan background elements left or right for stereo width
Mixing is an art—less is more. Focus on clarity and balance, not loudness.
8. Export and Share Your Song
Once you’re happy with how everything sounds, it’s time to export and share your masterpiece.
Exporting Tips:
-
Export in WAV (24-bit) for mastering or official releases
-
Use MP3 (320kbps) for streaming or sharing
-
Normalize the audio if it sounds too low in volume
-
Name your file clearly (e.g., “ArtistName_SongTitle_FinalMix.wav”)
You can now upload your song to:
-
SoundCloud
-
YouTube
-
Audius
-
Spotify (via a distributor like DistroKid or TuneCore)
FAQs
Q1: What is the best software for beginners to record music?
Ans: FL Studio and Audacity are great options for beginners.
Q2: Can I record music without an audio interface?
Ans: You can, but quality will suffer. An interface improves clarity and mic compatibility.
Q3: How do I remove background noise?
Ans: Use plugins like Noise Gate, EQ cuts, or record in a quieter room.
Ready to release your song? Use Tunecore to distribute your track on all major platforms in minutes.
Final Thoughts
How to record a song on Your Computer at Home is an empowering and exciting experience. With just a few pieces of gear, a good DAW, and a quiet room, you can create music that sounds truly professional.
Remember: Don’t wait for everything to be perfect. Start now, learn as you go, and keep improving. Each song you record makes you better.
What’s your favorite genre? Share it below!
Need help with home studio setup? Ask us—we’re here!
Hi, I’m Nikhil Farenjiya, a music producer and professional singer with 10 years of experience. I share my knowledge and passion for music through writing to help aspiring artists grow. My blog is dedicated to inspiring and guiding music lovers on their creative journey.